
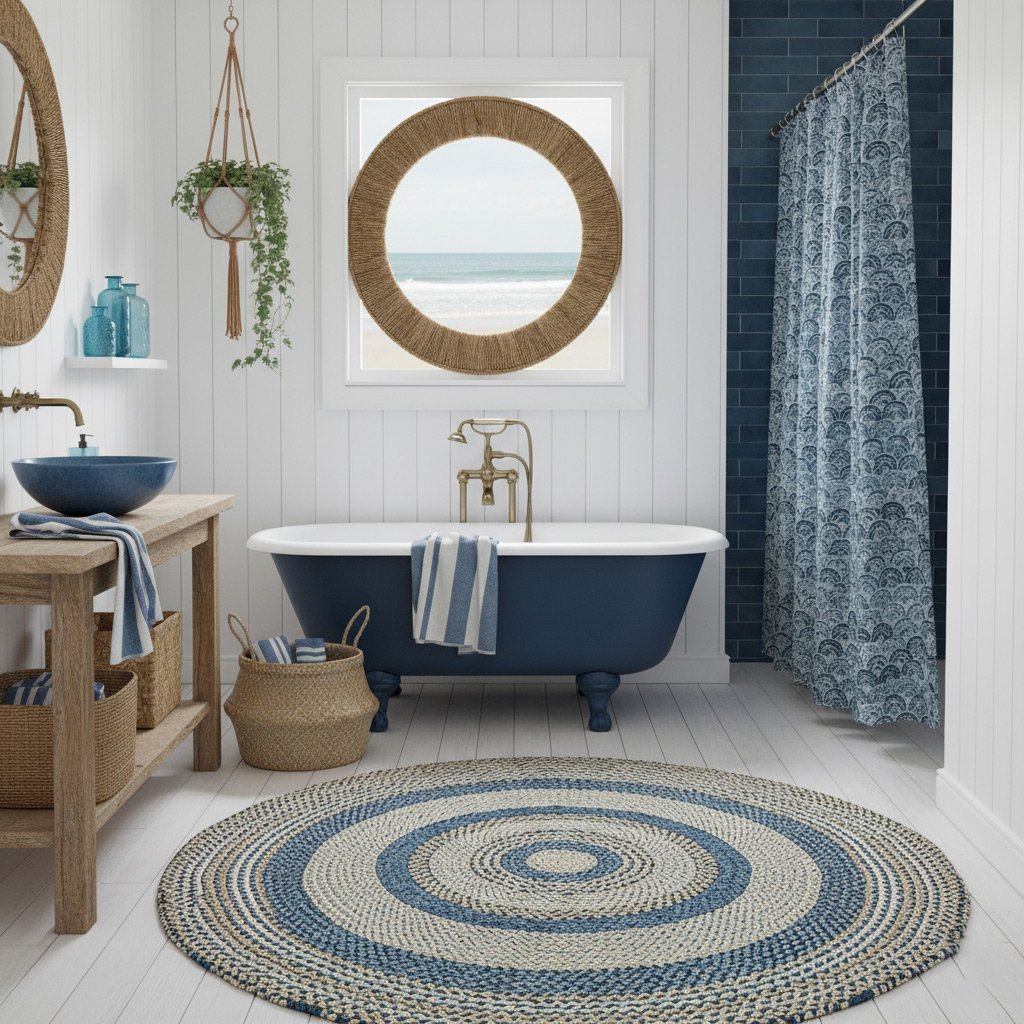
Picture this: you pull the shower curtain aside and are greeted by a sleek, tile‑lined cascade that feels like a mini‑spa, all without the clunky tub that’s been hogging space for years.
In Kingman, the locals have cracked the code on turning that outdated bathtub into a shower that looks custom‑built, not a DIY patch‑job. It’s not magic—it’s a blend of smart planning, the right materials, and a crew that knows the desert’s quirks.
Most homeowners stumble when they try to juggle plumbing, waterproofing, and design on their own, ending up with leaks or a half‑finished look. The secret? A step‑by‑step process that eliminates guesswork and keeps the budget in check.
If you’re curious how a simple swap can boost your home’s value and give you a daily dose of luxury, keep reading to discover the exact moves the pros use in Kingman.

Assessing Your Space and Setting Realistic Goals
Measure twice, decide once
Start by pulling out a tape measure and jotting down the exact dimensions of your current tub enclosure. Note the floor‑to‑ceiling height, the width of the walls, and any protruding fixtures. Those numbers become the blueprint for everything that follows.
Next, walk the room and ask yourself what you really want out of the new shower. Is a bench essential? Do you crave a rain‑head or a handheld wand? Write down the top three must‑haves and rank them. This prevents you from chasing every shiny option and blowing the budget.
Key factors to evaluate
- Clearance: Ensure there’s at least 30‑inches of walking space in front of the shower door.
- Ventilation: Kingman’s dry air can still trap moisture; plan for a vent that meets local code.
- Existing plumbing layout: Locate the drain and water supply lines—moving them far can add $2,000‑$3,000.
- Floor slope: A proper 1/4‑inch per foot slope directs water to the drain and avoids puddles.
Finally, set a budget that reflects both the materials you love and the labor reality in Kingman. A realistic goal isn’t “the cheapest possible” but “the best value for the price you can afford.” When you have clear numbers and priorities, the rest of the conversion falls into place like a well‑cut tile pattern.
Designing the Ideal Shower Layout for Kingman Homes
First thing’s first: grab a tape measure and walk the bathroom like you’re staging a movie set. Know the exact square footage you have to work with, and picture the traffic flow from the door to the vanity. In a desert home, you’ll want the shower to feel open, not cramped, so keep the entryway at least 30 inches wide.
Key Layout Options
- Corner shower – perfect for tight spaces, uses two walls and frees up the center.
- Linear (wall‑to‑wall) – gives a spa‑like feel, great when you have a longer room.
- Curbless walk‑in – ideal for accessibility and a sleek look, but requires extra waterproofing.
- Shower‑tub combo – if you can’t say goodbye to the tub entirely, keep the base and add a glass enclosure.
Once you pick a shape, think about the little details that make a big difference. A built‑in bench or a recessed niche for shampoo keeps the space tidy, while a rain‑head positioned over the center creates that “mini‑spa” vibe. Light the area with LED strips or a frosted glass panel, and you’ve got a layout that feels custom‑built without the custom price tag.

Selecting Materials That Thrive in Desert Conditions
Why material choice matters
Kingman’s dry heat and occasional flash‑floods put ordinary bathroom finishes to the test. Choose surfaces that expand and contract without cracking, and you’ll dodge costly repairs down the road.
Look for products rated for high temperature swings and low humidity. It’s not about being fancy; it’s about staying functional for years.
- Porcelain tile – dense, non‑porous, and resistant to sun‑bleached fading.
- Engineered stone slabs – lighter than marble, yet tough enough for desert dust.
- High‑grade acrylic panels – quick install, minimal grout lines, and won’t warp.
Top picks for Kingman showers
Slip resistance is a must when sand tracks in. Textured finishes give grip without sacrificing style.
Don’t forget the wall behind the showerhead. A water‑resistant backer board topped with a waterproof membrane is the safety net you need.
- Quarry‑cast porcelain with a matte finish – hides water spots.
- Thermally stable glass mosaics – add visual interest and survive temperature spikes.
- Stainless‑steel or brushed nickel fixtures – corrosion‑proof in the desert air.
Smart buying tips
Local suppliers often stock desert‑approved materials at a better price. Ask for “UV‑stable” or “desert‑grade” certifications.
When you compare quotes, factor in installation labor. A cheap tile that needs extra sealing will cost you more in the long run.
- Get a sample and expose it to direct sunlight for a day before committing.
- Check warranty terms – a 10‑year guarantee on waterproofing is a good sign.
- Ask the contractor about their experience with expansion joints in hot climates.
Mastering Plumbing, Drainage, and Waterproofing Techniques
Plumbing Basics for a Desert‑Ready Shower
First thing’s first: locate the existing supply lines and decide if you’ll keep the old shut‑off valves or install new ones. In Kingman the water pressure can swing, so a pressure‑regulating valve is a smart move.
Run PEX tubing instead of copper when you can. It’s flexible, resists corrosion, and handles the heat spikes that come with desert summers.
- Use ½‑inch PEX for the main feed.
- Install a dedicated shut‑off for the shower only.
- Seal every connection with a proper crimp tool.
Drainage Details That Keep the Floor Dry
The drain is the silent hero of any conversion. A linear drain or a low‑profile trench works great in a walk‑in shower and gives the space a modern look.
Don’t forget the trap. A 2‑inch PVC trap set at a 1‑inch slope will whisk water away without a hiccup.
- Slope the floor at ¼‑inch per foot toward the drain.
- Use a waterproof membrane under the mortar bed.
- Test the flow before you tile – a quick bucket test will catch problems early.
Waterproofing Must‑Do for the Kingman Climate
Desert dust loves to find any crack. A liquid‑applied waterproofing membrane creates a seamless barrier that tile can’t pierce.
Apply the membrane in two coats: a base coat that rolls over the subfloor, then a top coat that you brush over the walls up to the ceiling line.
- Seal all seams with a reinforcing fabric.
- Allow each coat to cure for at least 24 hours.
- Inspect for pinholes before you start tiling – a quick water test will reveal any weak spots.
Hiring the Right Local Contractor and Managing the Project Timeline
In Kingman, a contractor who knows the desert’s heat and the city’s permit maze is worth his weight in gold. Look for a crew with a solid track record, proper licensing, and insurance that covers both labor and materials. Don’t settle for the cheapest bid—the savings disappear fast when you face hidden repairs.
What to Look for in a Contractor
- Local reputation: Ask neighbors, check online reviews, and verify past projects in the area.
- License & insurance: Confirm they’re registered with the Arizona Registrar of Contractors and carry workers’ comp.
- Clear, written estimate: Itemized costs, material choices, and a defined scope.
- Warranty on workmanship: At least one year, preferably longer.
Keeping the Timeline on Track
- Set milestones: demolition, waterproofing, tile work, and final inspection each get a deadline.
- Weekly check‑ins: A quick call or site visit keeps everyone honest.
- Plan for weather: Summer heat can slow mortar cure; schedule critical steps for cooler mornings.
- Hold a contingency fund: 10‑15% of the budget for unexpected hiccups.
Case Study: Turning a 1970s Bathtub into a Spa‑Like Shower in Kingman
The Starting Point
When the Johnson family opened the closet‑sized bathroom, the 1970s claw‑foot tub looked like a relic. They wanted space, style, and a splash of luxury. The first step was a hard‑look at the square footage and the existing plumbing.
- 15‑sq‑ft of usable floor after the tub removal
- Old copper pipes that needed rerouting
- No waterproofing membrane in place
The Design Reveal
We sketched a walk‑in shower that felt larger than the whole room. Large-format, matte‑finish tiles were chosen to reflect the desert light without glare. A low‑profile linear drain kept the floor level and made cleaning a breeze.
- 3‑ft wide, curbless entry for easy access
- Rain‑shower head paired with a handheld for flexibility
- Quartz bench that doubles as a storage nook
Results & ROI
Six weeks after the demo, the new shower was ready for the first splash. The Johnsons reported a 30% increase in daily comfort and a noticeable bump in home appraisal value. All under the original budget, with a finish that looks custom‑built, not a quick fix.
Final Words
Before you walk away, lock in a quick post‑install check. Run the water, watch the grout, and make sure the drain sings. A 24‑hour seal test saves you from a costly leak later.
Keep the Momentum
Don’t let the excitement fade. Schedule a maintenance window every six months to scrub the tiles and verify the caulk holds up against Kingman’s desert dust.
- Inspect the shower pan for cracks.
- Re‑apply silicone where the curtain rod meets the wall.
- Clear the trap to avoid clogs.
Stay Connected
When you need a second opinion or a quick fix, reach out to a contractor who specializes in Tub to Shower Conversions. A local pro knows the code quirks and can keep your project on track without the usual back‑and‑forth.
People Also Ask
What is the first step in planning a tub‑to‑shower conversion in Kingman?
The first step is to measure the existing bathroom space and determine realistic goals based on the layout, budget, and local building codes. This assessment helps you decide the shower size, door style, and any structural changes needed.Which materials work best for shower walls and floors in the desert climate of Kingman?
Porcelain tile, natural stone, and high‑quality acrylic panels resist heat expansion and moisture while standing up to intense sunlight. Choose products with a low water absorption rate and a slip‑resistant finish for safety.How do I ensure proper waterproofing for a tub‑to‑shower remodel?
Install a waterproof membrane over the subfloor and walls, seal all seams with a certified sealant, and use a sloped shower pan that directs water toward the drain. A professional waterproofing inspection before closing the walls prevents future leaks.What plumbing adjustments are typically required for a tub‑to‑shower conversion?
You’ll need to relocate the drain to accommodate the new shower pan, possibly adjust the water supply lines for a shower valve, and add a pressure‑balanced or thermostatic valve to maintain consistent temperature. Hiring a licensed plumber familiar with Kingman codes ensures compliance.How can I choose the right local contractor for a seamless conversion?
Look for contractors with proven experience in tub‑to‑shower projects, positive reviews from Kingman homeowners, and proper licensing and insurance. Request a detailed written estimate, timeline, and portfolio of similar remodels before signing a contract.Kingman Bathroom Remodel brings over 15 years of specialized bathroom renovation experience to homeowners throughout Kingman, Arizona. Their team combines skilled craftsmanship with a deep understanding of local design trends and building codes, ensuring each project meets the unique needs of the community.
Need Bathroom Remodel?
We restore indoor comfort quickly for homes and businesses in Kingman, AZ and nearby ZIPs (86401, 86402, 86403, 86404, 86405). Our technicians diagnose and fix issues efficiently to keep your system running smoothly.
Get Bathroom Quote