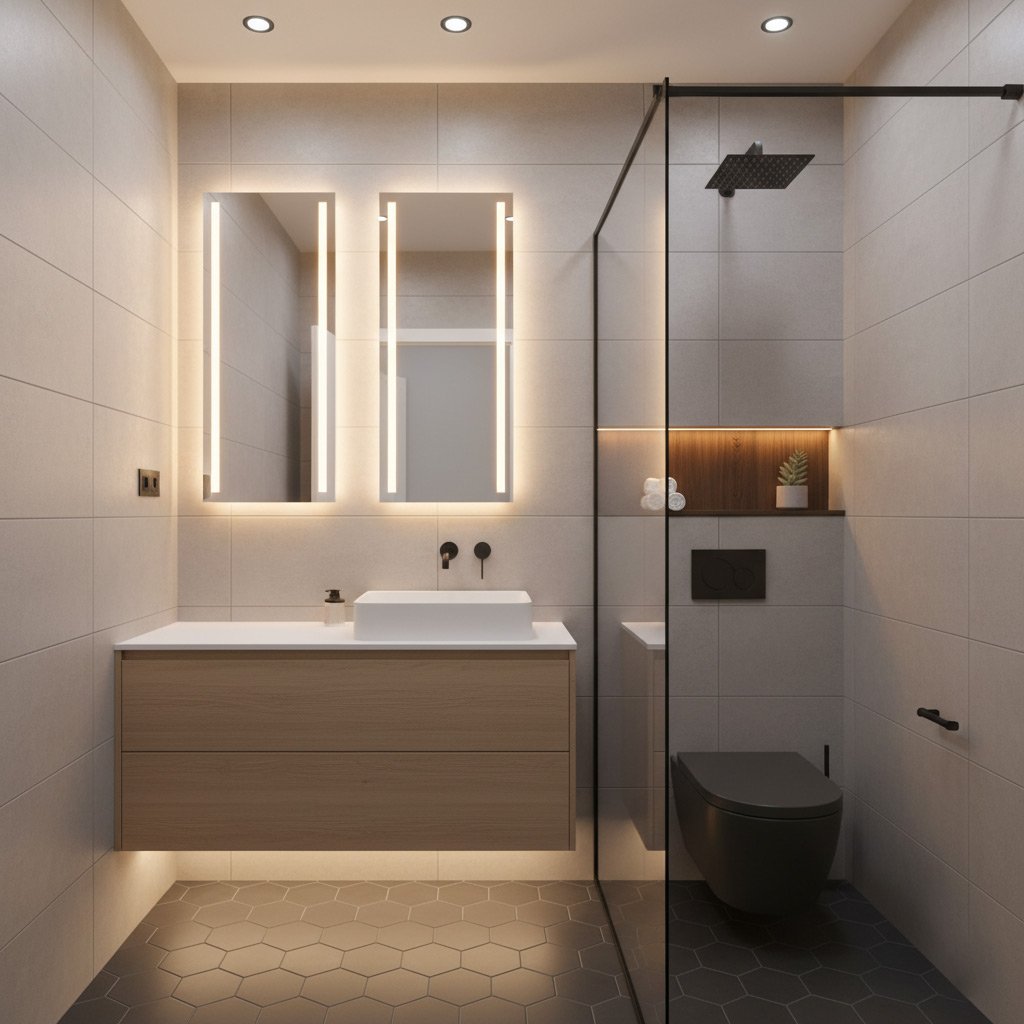
Imagine stepping into a shower that feels like it was custom‑built for you, every drop hitting just the right spot. That kind of experience starts with the right liner, and it’s not as hard to nail as most homeowners think.
Kingman’s desert heat and hard water can turn a cheap liner into a soggy nightmare in months. Picking a material that laughs at mineral buildup, resists mold, and stays snug around your tub is the secret sauce for a bathroom that looks fresh year after year.
We’ll break down the top liner options, show you how to match them to your budget and style, and give you a quick checklist to avoid costly mistakes. Keep reading and you’ll walk away with a game plan that turns your shower into a daily win.
Understanding Shower Liner Materials: PVC, CPE, Acrylic, and Beyond
PVC – The Workhorse
Polyvinyl chloride (PVC) is the most common liner you’ll see on the market, and for good reason. It’s cheap, lightweight, and easy to cut, which makes installation a breeze. When you need a reliable barrier without breaking the bank, PVC delivers—provided you protect it from Kingman’s hard‑water minerals.
CPE – The Tough‑Guy’s Choice
Chlorinated polyethylene (CPE) steps up the durability game. It’s thicker, more resistant to punctures, and handles temperature swings better than PVC. Homeowners who want a liner that can take a beating often pick CPE, especially in a desert climate where expansion and contraction are daily visitors.
Acrylic – The Luxury Option
Acrylic liners look and feel like high‑end tile without the grout hassle. They’re non‑porous, so mold and mildew have a hard time setting up shop. The trade‑off? They cost more and require a skilled installer to avoid visible seams.
Beyond the Basics
If you’re willing to think outside the box, consider fiberglass reinforced panels or tile‑ready liners that let you apply your own tile over a waterproof membrane. These options give you the look of custom tile with the protection of a solid liner.
- PVC: budget‑friendly, easy to install, prone to warping in extreme heat.
- CPE: robust, resists chemicals, heavier and a bit pricier.
- Acrylic: sleek finish, mold‑resistant, requires professional fit‑out.
- Fiberglass/Tile‑Ready: ultimate design freedom, highest cost, best for remodels.
How Kingman’s Desert Climate and Hard Water Influence Liner Selection
Heat‑Driven Expansion and Contraction
Kingman’s daytime temps can soar above 100°F, then plunge at night. That swing makes PVC and CPE liners stretch and shrink, which can create tiny gaps where water seeps. Choosing a material with a high thermal‑stability rating keeps the seam tight year‑round.
Hard Water’s Mineral Assault
The local water is loaded with calcium and magnesium, turning every shower into a slow‑drip mineral spray. Over time, those deposits eat into acrylic and thin‑film liners, leaving them brittle. Opt for a liner with a reinforced core or a ceramic‑coated surface to shrug off the buildup.
- Look for a UV‑resistant coating – it fights sun‑bleached fading.
- Pick a liner rated for ≥ 10,000 ppm hardness – it survives the worst water.
- Consider a dual‑layer design – one layer handles heat, the other blocks minerals.
Budget vs. Longevity: Finding the Right Balance for Your Home
When you compare a $150 PVC liner to a $600 acrylic model, the price gap looks scary at first glance. The trick is to ask yourself how many years you expect that liner to stay leak‑free, mold‑free, and looking good in Kingman’s hard‑water environment.
Cost Breakdown by Material
- PVC: $120‑$200 per sheet. Cheap, but prone to cracking after 3‑5 years in desert heat.
- CPE (Chlorinated Polyethylene): $250‑$350. Handles mineral deposits better, lasts 7‑10 years.
- Acrylic: $500‑$800. Premium feel, resists stains, can survive 12‑15 years with proper care.
- Hybrid blends: $300‑$450. Offer a middle ground—more durable than PVC, less pricey than acrylic.
Think of the liner as an investment, not an expense. A $200 PVC job might need replacement twice in a decade, while a $600 acrylic install could be the only one you buy in that span. Add up the total cost of materials, labor, and future repairs, then compare it to the peace of mind you’ll get from a liner that doesn’t leak on you.
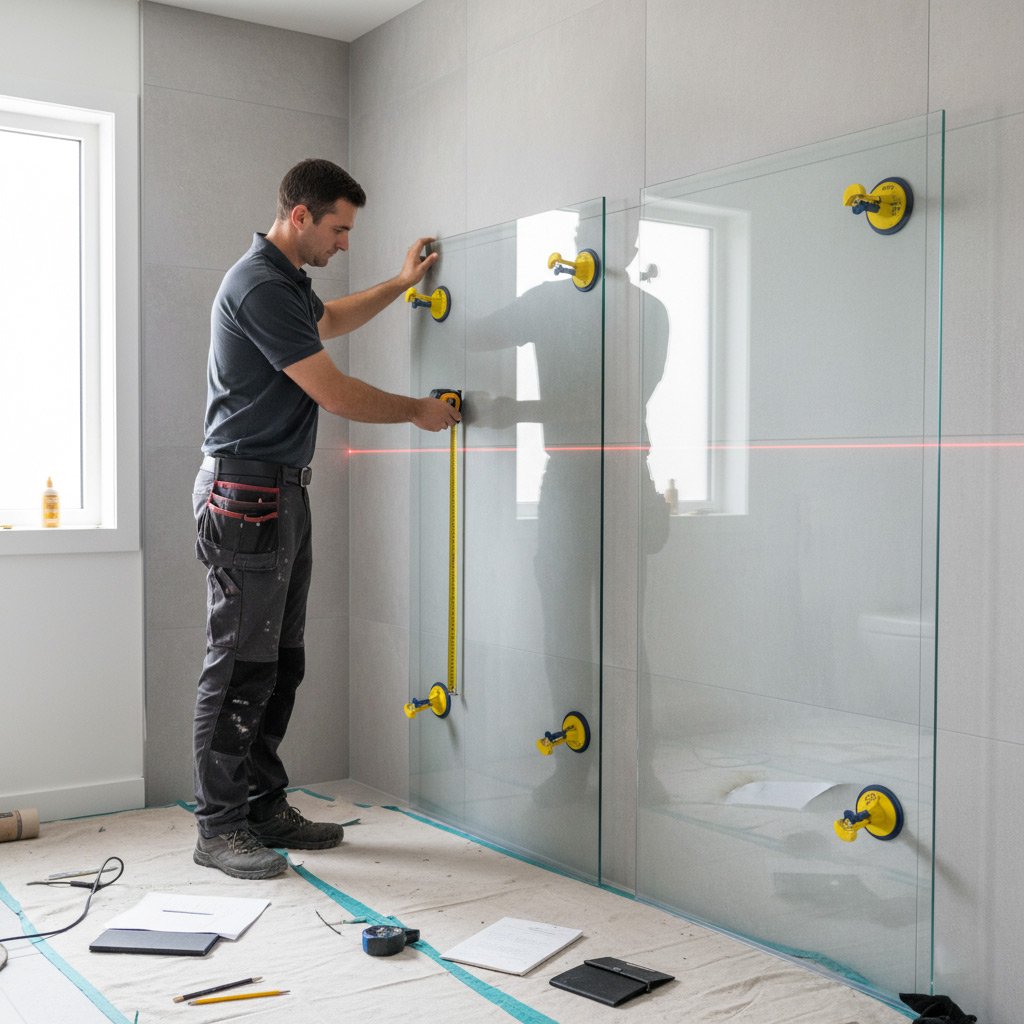
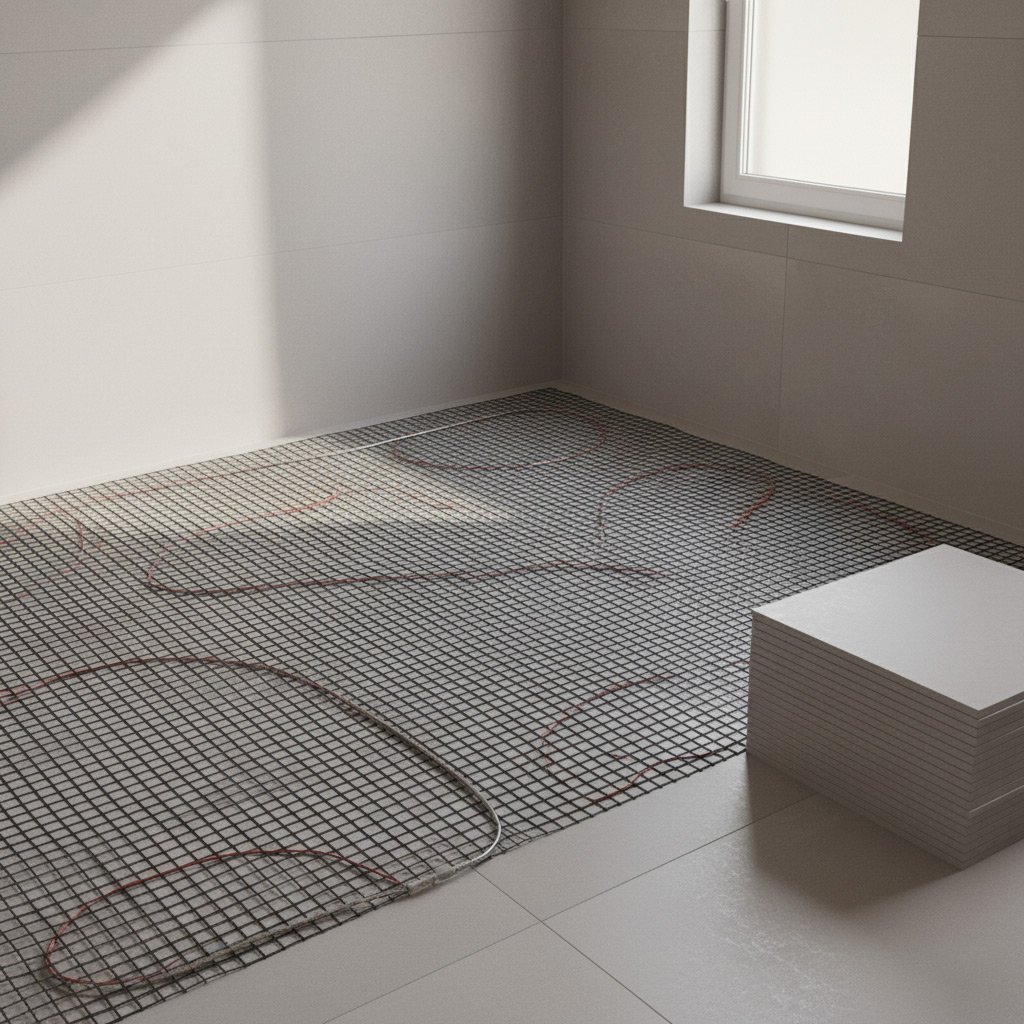
Installation Essentials: Achieving a Seamless, Leak‑Free Fit
First thing’s first – clear the old liner, scrub the tub, and let everything dry. A clean surface is the foundation for a leak‑free shower, so grab a non‑abrasive pad and wipe away soap scum, mineral deposits, and any leftover adhesive. Don’t rush; a dry, dust‑free base lets the new liner hug the tub like a glove.
Step‑by‑Step Checklist
- Measure twice, cut once – use a flexible tape and note the exact width and length of the tub.
- Apply a thin, even coat of high‑quality waterproof adhesive; a little goes a long way.
- Press the liner into place, starting at the center and working outward to avoid air pockets.
- Secure the edges with a continuous bead of silicone, making sure the seal runs the full perimeter.
When the liner sits snugly, turn your attention to the seams. Overlap the edges by at least 2 inches and seal with a waterproof tape or a specialty seam sealer. Tip: Use a smoothing tool to roll the sealant, eliminating bubbles that could become future leak points.
Seal the Deal
After the adhesive cures (usually 24 hours), run a quick water test. Let the faucet drip for a minute, then watch the seams for any drips or fogging. If you spot a wet spot, reapply silicone and let it set. Finally, trim any excess liner with a sharp utility knife, keeping the cut clean and straight for a professional look.
Maintenance Strategies to Prevent Mold, Mildew, and Mineral Buildup
Quick Daily Wins
After each shower, wipe the liner with a soft, dry cloth to chase away water droplets before they have a chance to settle.
Leave the bathroom fan running for at least ten minutes; the extra airflow dries the seams where mold loves to hide.
- Use a squeegee on the glass doors to keep the whole enclosure dry.
- Keep a small bottle of diluted vinegar on the shelf for a quick spray on any visible spots.
Monthly Deep‑Clean Routine
Mix one part white vinegar with one part water, spray the liner, let it sit for five minutes, then scrub with a non‑abrasive pad.
This simple acid attack dissolves mineral deposits without harming PVC or acrylic surfaces.
- Target grout lines and corners where water pools.
- Rinse thoroughly with warm water to avoid residue that could attract soap scum.
Long‑Term Defenses
Consider installing a water‑softening system if your home’s hard‑water test reads above 150 ppm; softer water means fewer calcium rings on the liner.
Upgrade ventilation by adding a humidity‑sensing exhaust fan that kicks on automatically when steam builds up.
- Seal any gaps around the liner with a high‑quality silicone caulk.
- Schedule a professional inspection every 2‑3 years to catch hidden leaks before they become a problem.
Case Study: Revamping a Kingman Bathroom with a High‑Performance Shower Liner
The Challenge
When the Martinez family moved into their 1970s ranch home, the shower felt like a leaky swamp after every rainstorm. Hard water left white stains, and the old vinyl liner warped within months. They needed a solution that could survive Kingman’s desert heat and stubborn mineral buildup.
The Solution
We installed a CPE (chlorinated polyethylene) liner with a reinforced seam and a low‑profile acrylic trim. The material tolerates temperature swings and resists mold like a champ. Our crew pre‑treated the tub flange, applied a waterproof sealant, and used a hidden‑track system for a seamless look.
Results
Six months later the Martinez bathroom is still looking brand new. Here’s what they love most:
- No more water spots – the CPE surface repels mineral deposits.
- Zero leaks – the hidden‑track design keeps water where it belongs.
- Easy cleaning – a quick wipe removes soap scum without scrubbing.
- Added home value – a modern, leak‑free shower boosts resale appeal.
Final Words
Before you sign off on a liner, run through this quick sanity check. It’s the kind of list that keeps you from waking up to a leaky surprise months later.
Quick Decision Checklist
- Material match: PVC for budget, CPE for durability, acrylic for luxury.
- Climate fit: Does it shrug off Kingman’s heat and hard‑water minerals?
- Installation confidence: Are you using a certified installer who follows the Shower Liners best‑practice guide?
Remember, a liner isn’t just a piece of plastic—it’s the backbone of your shower’s performance. Pick one that can handle the desert grind, and you’ll save time, money, and headaches down the road.
Got questions or need a pro to walk you through the options? Reach out now and lock in a liner that feels custom‑built, not off‑the‑shelf.
People Also Ask
What shower liner material works best with Kingman’s hard water?
A liner made from CPE (chlorinated polyethylene) or high‑grade acrylic resists mineral staining and cracking caused by hard water. These materials are less porous than PVC, reducing water absorption and prolonging the liner’s life.How does the desert climate affect shower liner durability?
Extreme temperature swings can cause PVC to become brittle, while acrylic and CPE maintain flexibility. Choosing a liner with UV‑stabilizers helps prevent fading and cracking from intense sun exposure.Can I install a shower liner myself without professional help?
Yes, if you have basic DIY skills and follow the manufacturer’s instructions for proper sealing and alignment. However, a professional ensures a completely leak‑free fit, especially on custom or curved shower bases.What is the average cost range for a high‑quality shower liner in Kingman?
Budget PVC liners start around $80, while premium acrylic or CPE options range from $150 to $300 plus installation. Investing in a durable liner can save money on future repairs and water damage.How often should I replace my shower liner in a desert environment?
Most high‑quality liners last 8‑12 years, but harsh water and climate may shorten that to 5‑7 years. Regular inspections for cracks, mold, or mineral buildup will indicate when replacement is needed.Kingman Bathroom Remodel brings over a decade of specialized bathroom renovation expertise to homeowners throughout Kingman, Arizona. Their team combines skilled craftsmanship with a deep understanding of local design trends and building codes, ensuring each project meets the unique needs of the community. Committed to quality and personalized service, they transform spaces into functional, stylish retreats.
Need Bathroom Remodel?
We restore indoor comfort quickly for homes and businesses in Kingman, AZ and nearby ZIPs (86401, 86402, 86403, 86404, 86405). Our technicians diagnose and fix issues efficiently to keep your system running smoothly.
Get Bathroom Quote